How To Fix Pier and Beam Foundations
[et_pb_section fb_built=”1″ admin_label=”section” _builder_version=”4.16″ custom_padding=”23px|||||” global_colors_info=”{}” theme_builder_area=”post_content” custom_margin=”-18px|||||”][et_pb_row _builder_version=”4.16″ _module_preset=”default” width=”95%” global_colors_info=”{}” theme_builder_area=”post_content” custom_padding=”8px|||||”][et_pb_column type=”4_4″ _builder_version=”4.16″ _module_preset=”default” global_colors_info=”{}” theme_builder_area=”post_content”][et_pb_text _builder_version=”4.22.2″ _module_preset=”default” theme_builder_area=”post_content” hover_enabled=”0″ sticky_enabled=”0″ header_text_align=”center” custom_padding=”||31px||false|false”]Guide to Repairing Pier & Beam Foundation Damage[/et_pb_text][et_pb_image src=”https://rainbowthemes.net/old-academyhouseleveling/wp-content/uploads/2023/09/3-Aug-14-2023-08_41am-TsHU.jpg” title_text=”3-Aug 14 2023 08_41am-TsHU” _builder_version=”4.22.2″ _module_preset=”default” global_colors_info=”{}” theme_builder_area=”post_content”][/et_pb_image][et_pb_text _builder_version=”4.22.2″ _module_preset=”default” hover_enabled=”0″ global_colors_info=”{}” theme_builder_area=”post_content” sticky_enabled=”0″]Selecting the Right Contractor After identifying foundation damage, […]
Guide to Repairing Pier & Beam Foundation Damage
[/et_pb_text][et_pb_image src=”https://rainbowthemes.net/old-academyhouseleveling/wp-content/uploads/2023/09/3-Aug-14-2023-08_41am-TsHU.jpg” title_text=”3-Aug 14 2023 08_41am-TsHU” _builder_version=”4.22.2″ _module_preset=”default” global_colors_info=”{}” theme_builder_area=”post_content”][/et_pb_image][et_pb_text _builder_version=”4.22.2″ _module_preset=”default” hover_enabled=”0″ global_colors_info=”{}” theme_builder_area=”post_content” sticky_enabled=”0″]Selecting the Right Contractor
After identifying foundation damage, the immediate step is to hire a contractor skilled in pier and beam foundation repairs. Ensure the contractor is:
- Legally licensed and registered according to state and federal guidelines.
- Verified by cross-checking the company’s name and address on the license. Always confirm the license details rather than just accepting a license number or copy.
- Insured, as this safeguards against potential liabilities.
Why is this crucial? An unlicensed contractor can lead to halted projects, escalating costs, and extended repair durations.
Steps to Repair Pier & Beam Damage
1. Utility Check Before Commencing Work The contractor should liaise with the utility company to ensure all underground utilities (cables, pipes, etc.) are identified. This service is free and legally mandatory.
2. Evaluating the Damage The severity of the damage, square footage, and number of affected joints dictate the repair cost and duration. Remember, labor often constitutes the most significant expense, so hiring experienced contractors is essential.
3. Experience Matters While comparing estimates, consider the contractor’s experience. A lower estimate from less experienced laborers might seem attractive but could lead to subpar repairs, costing more in the long run.
4. The Piering Process Most foundation repairs involve piering, a technique that redistributes the structure’s weight to firmer soil layers. This process demands specialized equipment and expertise.
5. Choosing the Right Piering Method Two primary methods reinforce sinking foundations:
- Foundation Helical Piers: Best for extensive damage, like visible wall cracks or tilted chimneys. These piers are mechanically screwed into the soil, ensuring stability. Once they achieve the required depth, heavyweight steel brackets are anchored under the structure’s footing.
- Push Piers: This method permanently stabilizes the foundation, restoring the structure to its original level. It employs robust steel pier sections driven hydraulically to bypass unstable soils.
The choice between Helical Piers and Push Piers is determined post a thorough inspection by the contracted professional. Another alternative is the SmartJacks system.
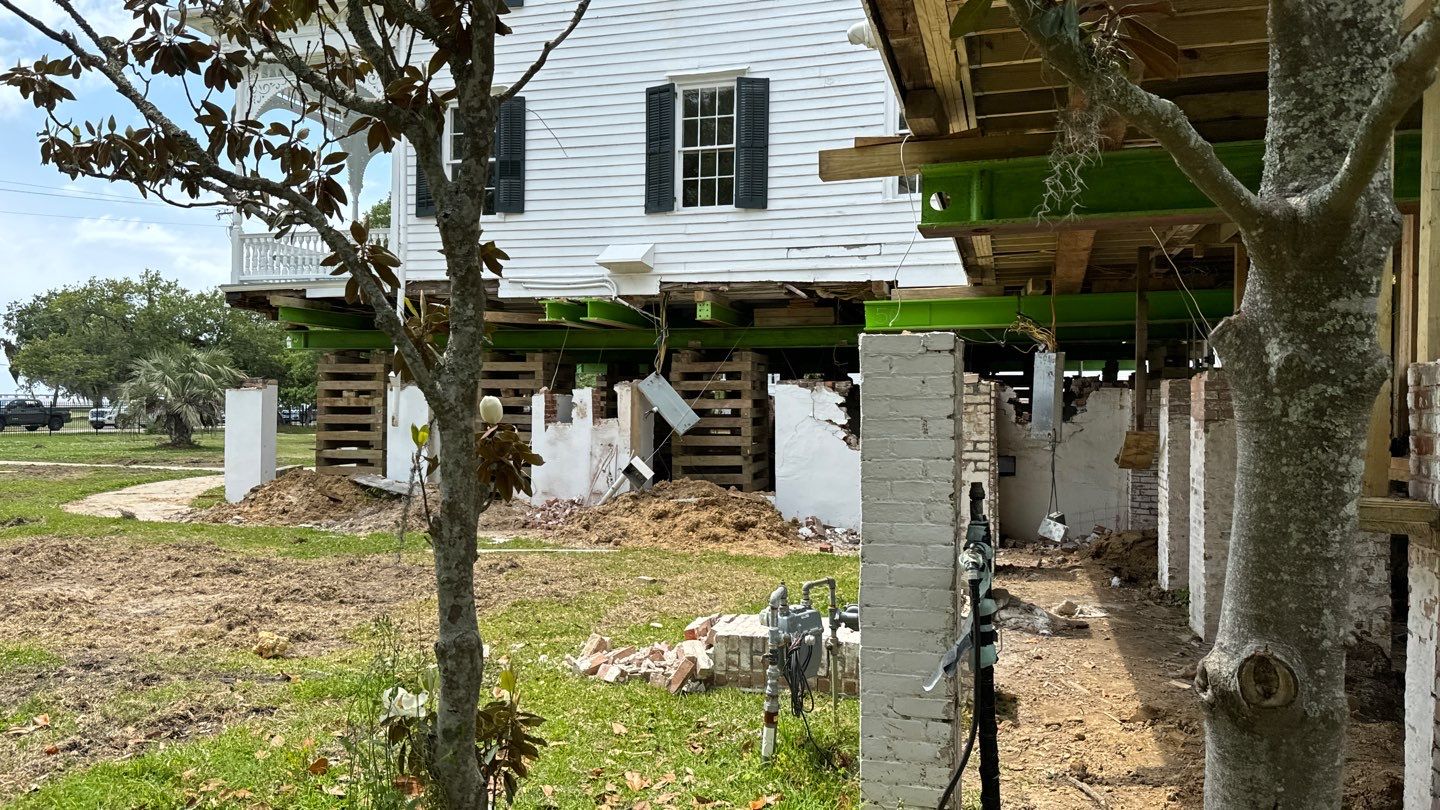
[/et_pb_text][et_pb_image src=”https://rainbowthemes.net/old-academyhouseleveling/wp-content/uploads/2023/09/7-Aug-16-2023-09_10am-tYQt-scaled.jpg” title_text=”7-Aug 16 2023 09_10am-tYQt” _builder_version=”4.22.2″ _module_preset=”default” global_colors_info=”{}” theme_builder_area=”post_content”][/et_pb_image][et_pb_text _builder_version=”4.22.2″ _module_preset=”default” hover_enabled=”0″ global_colors_info=”{}” theme_builder_area=”post_content” sticky_enabled=”0″]The Importance of Adequate Crawlspace
One of the primary factors influencing the cost and complexity of pier and beam foundation repairs is the availability of crawlspace. Ideally, a crawlspace should have a minimum depth of 18 inches beneath floor joists, though 24 inches is more desirable.
- Benefits of Adequate Crawlspace:
- Promotes free airflow beneath the structure, ensuring dry beams and soil.
- Facilitates easier inspection access.
For homes lacking sufficient crawlspace, the repair costs rise significantly due to the need to remove floors for access.
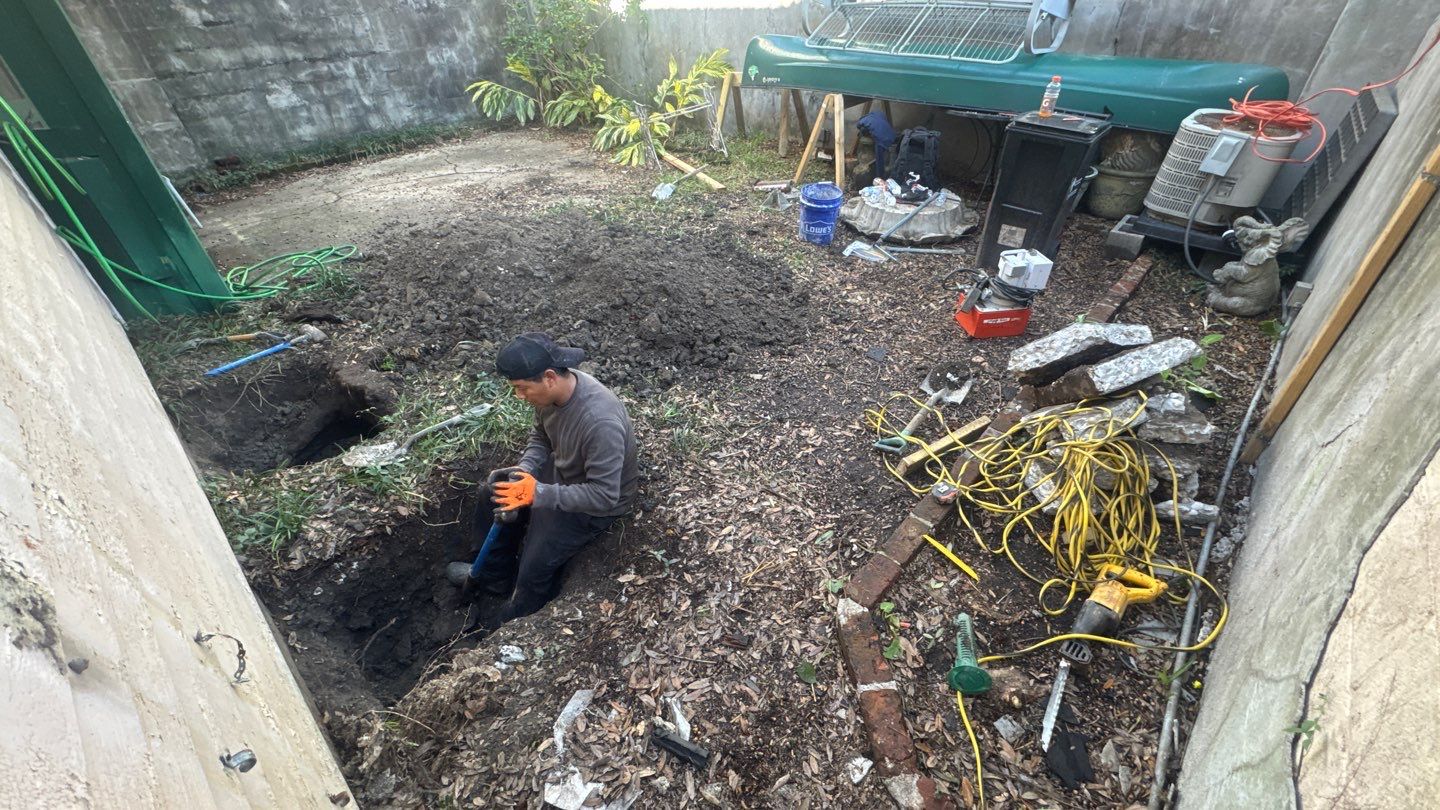
Challenges with Limited Crawlspace
When there’s limited or no crawlspace:
- Soil may need excavation beneath the foundation.
- There’s a heightened risk of water accumulation in the excavated area, potentially compromising the original pier supports.
- Additional supports might be necessary, escalating repair costs.
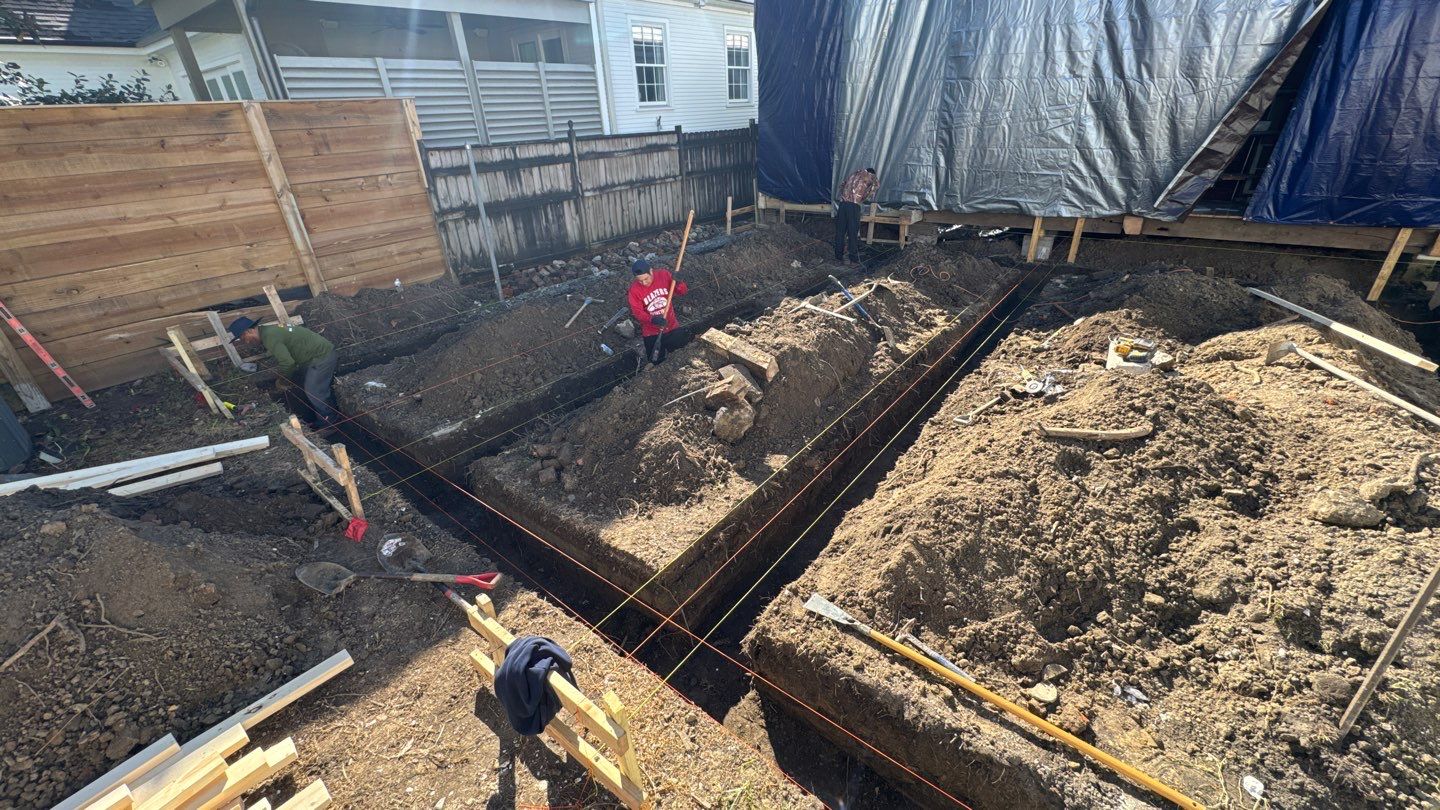
Pier Installation Process
- Determining the Number of Piers: The required number of piers depends on the beam’s length to rectify the damage. Typically, every 12-foot beam length necessitates three to four piers. If existing piers are compromised, they might need reinforcement or replacement. Piers are typically supported by square concrete pads, varying in size from four to 20 inches.
- Initiating the Dig: A 3×4 foot excavation is made adjacent to the foundation, approximately 10 inches below the grade beam. Any unsuitable soil is scraped away from the foundation’s bottom footing to ensure a snug fit for support brackets.
- Installing Hydraulics and Brackets: With the aid of a guiding sleeve, hydraulics and brackets are set up, allowing for the insertion of the pier sections using a force of nearly 50,000lbs. The final pier section is secured about five inches above the bracket.
- Lifting the Structure: Hydraulics are re-engaged sequentially to elevate the structure. Upon reaching the desired height, support brackets and fastening plates are permanently affixed to the pier columns. Pressure, depth, and elevation readings are then documented for each pier.
- Finalizing the Repair: The excavated soil is replaced and compacted. Any removed concrete or shrubbery is restored, marking the repair’s completion.
Strategies to Avoid Costly Pier & Beam Foundation Repairs
1. Moisture Control: The Foundation of Durability The longevity of pier and beam foundation homes largely hinges on effective moisture control. Especially in high-humidity regions like Louisiana, managing moisture is paramount.
- Adequate Airflow: Ensure your home has sufficient airflow beneath its structure. This prevents the accumulation of moisture, which can weaken the foundation over time.
- Sealing and Dehumidification: In areas with persistent high humidity, consider sealing off the foundation and investing in a dehumidifier. This ensures any excess moisture in the crawlspace is effectively managed.
2. Water: Your Home’s Arch-Nemesis Water infiltration, whether from beam cracks or ambient moisture, can lead to soil erosion and damage over time.
- Effective Drainage Systems: Combat water-related issues with robust drainage solutions. A dry foundation ground during hot weather and post-heavy rains prevents structural ‘shifting’ problems.
- French Drain System: This system, known for its efficacy, prevents water pooling around the house foundation. It employs cap spaces with grates and trenches filled with large river rocks, preventing clogs and deterring termites.
- Surface Drains: A cost-effective alternative, surface drains consist of collector boxes with drain grates and buried pipes, directing water away from the house. For areas lacking natural drainage, integrating sump pumps can be beneficial.
3. Roof Gutters: The First Line of Defense Roof gutters play a pivotal role in water management.
- Proper Installation: Ensure gutters are adequately sized, and downspouts direct water into pipes that lead it 6-10 feet away from the foundation.
- Timely Installation: If your home lacks gutters, consider installing them promptly to prevent potential foundation damage.


Brent Moran
Helpful Tips, Real Stories & Home Repair Wisdom